
Supported products
Supported products
2026.09 of the developer platform.
For a high-level review of serverless functions, check out the serverless functions overview.
Prerequisites
Before starting this tutorial, you’ll need:- A Content Hub Enterprise account, or a CMS developer sandbox account.
- The HubSpot CLI (latest version recommended), installed and authenticated with the account you’re using. To check which accounts are authenticated, run
hs accounts list. Learn more about getting started with local development. - Node.js and npm, to install the function’s dependencies locally.
Create a project
Start by creating a project locally so that you can build and deploy it to your account. The project contains an app with static auth and private distribution, which is the only kind of app that can include serverless functions.- In the terminal, navigate to the directory where you’ll be storing your project using the
cdcommand.
- Run the command below to create a project named
zen-quote-projecton version2026.09, with an app that includes a public endpoint function.
- Navigate into the new project directory:
Add a serverless function to the project
Open the project in your preferred editor, such as VS Code. The CLI created the following files:hsproject.json: the project configuration file. ItsplatformVersionfield is set to2026.09.src/app/app-hsmeta.json: the app configuration file.src/app/functions/: the serverless functions directory. Each function is a pair of files: a*-hsmeta.jsonconfiguration file and the JavaScript file it points to.src/app/functions/package.json: the dependencies for every function in the directory.
- Delete
endpoint-function-hsmeta.jsonandNewEndpointFunction.js. - In
src/app/functions/, createfetch-quote-hsmeta.jsonandfetch-quote.js, then copy the code below into each file. - Update
package.jsonandapp-hsmeta.jsonas shown in their tabs.
- fetch-quote-hsmeta.json
- fetch-quote.js
- package.json
- app-hsmeta.json
Upload the project to HubSpot
With your changes saved, you can now upload the project to HubSpot to build and deploy the app and serverless function.- In the terminal, validate the project, then upload it:
- If this is the first upload, confirm that you want to create the project in the account. The terminal displays the status of the build and deploy steps as they progress. The build is deployed as soon as it succeeds, so the function is live once the upload completes.
- Once the upload completes, run
hs project opento view the project in HubSpot.
Test the function
With the serverless function deployed, you can invoke it by calling its public URL, which has the following structure:https://<domain>/hs/serverless/<path>.
<domain>: any domain connected to the account. For example, if both website.com and subdomain.brand.com are connected to the account, you could call the function usinghttps://website.com/hs/serverless/<path>orhttps://subdomain.brand.com/hs/serverless/<path>.<path>: the value ofconfig.endpoint.pathin the function’s*-hsmeta.jsonfile.
https://<domain>/hs/serverless/fetch-quote.
Endpoint paths are global across the account rather than scoped to an app or project. If two projects use the same path, the most recently deployed function takes precedence.
<hubId>.hs-sites.com (for example, 123456.hs-sites.com). Your browser should display the data returned by the Zen Quotes API.

Invoke the function from a website page
Now that you’ve created the serverless function and confirmed that it returns data, call it from a page to see the data in a more realistic context. For this tutorial, you’ll create a page template containing some HTML and JavaScript that calls the function and displays the response. First, create a new page template:- In your local environment, create a new directory to contain your page template, outside of this tutorial’s project directory. Page templates are uploaded to the design manager, not as part of the project.
- In the terminal, navigate into that directory using the
cdcommand.
- Run the command below to create a page template named
serverless-template.
- Open the new
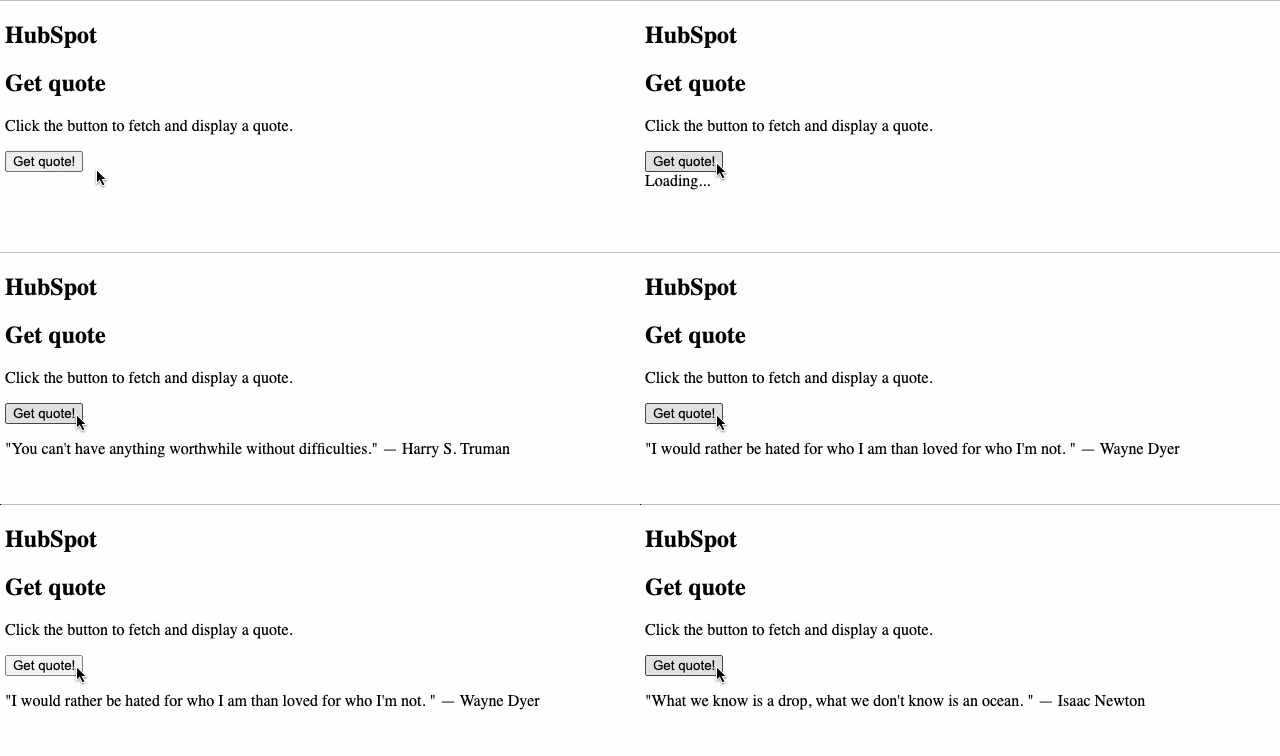
serverless-template.htmlfile in your editor, then replace the boilerplate code with the code below. The template calls the function with a relative URL (/hs/serverless/fetch-quote), so the request goes to the same domain as the page, whichever domain that is.
- Save the file, then upload it to the design manager:
- Navigate to the website pages dashboard of your HubSpot account by running
hs open website-pages.
See the full list of available open shortcuts by running
hs open --list.- In your browser, click Create in the upper right to create a new page.
- In the dialog box, select a domain to use, then assign a Page name.
- Click Create page.
- On the template selection screen, search for your new template. You can use the label or the file name to search for the template (for example, “Serverless function example template”). The template appears under Other templates, as it’s not part of a theme.
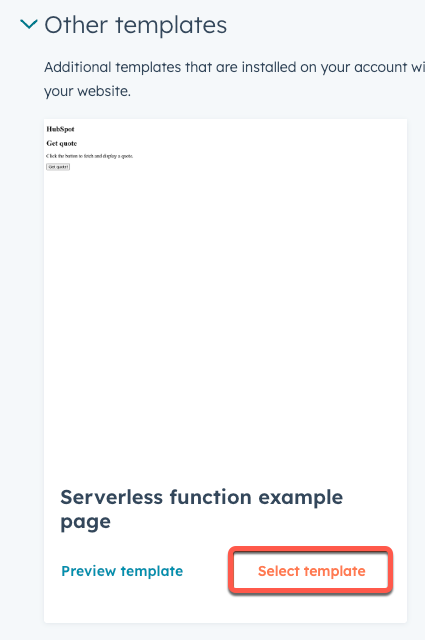
- Click Select template.
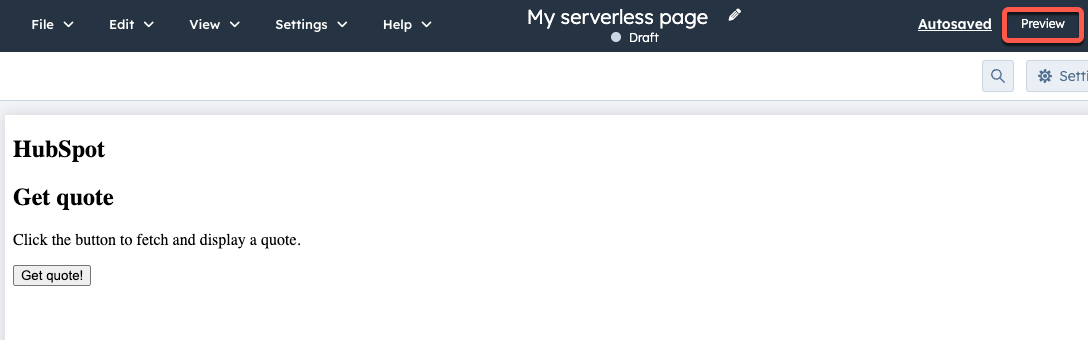
- In the page editor, click Preview in the upper right.
- Click Open in a new tab.
Next steps
Now that you’ve created a serverless function that calls a third-party API and invoked it from a page, there are a few ways to continue building:- Authenticate requests to HubSpot APIs with the app’s built-in access token, or to other authenticated APIs with secrets.
- Move the button and JavaScript into a module rather than hard-coding them in the page template. This makes the function easier to reuse, since you can add the module to any page. To do so, create a module, then add the HTML to the module’s
module.htmlfile and the JavaScript to itsmodule.jsfile.
- Review the serverless functions reference for the full function configuration, the
contextobject, and limits.